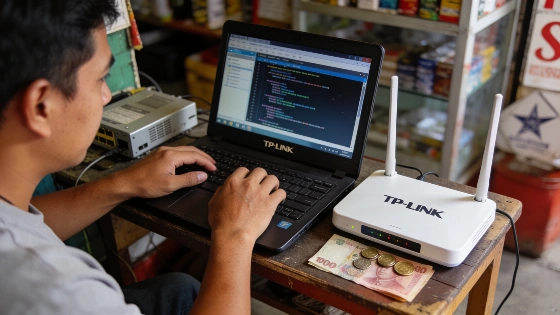
Running a Piso WiFi network in the Philippines means operators need steady access to the router’s admin panel. For many TP-Link Piso WiFi routers, the default gateway IP address 10.0.0.1 acts as the main portal for setting up network options, tracking usage, and managing who connects. Knowing how to reach and use this dashboard helps operators keep their service running smoothly and make the most of their setup.
How to Reach the 10.0.0.1 Admin Panel
To get into your TP-Link Piso WiFi router’s admin panel, connect your device to the router’s network by WiFi or Ethernet. Open a browser and type http://10.0.0.1 in the address bar. Enter your admin credentials when asked. Most TP-Link routers use admin for both the username and password by default. If 10.0.0.1 doesn’t work, check the sticker on your router for the right IP address. Some models use 192.168.1.1 or 192.168.0.1 instead.
TP-Link’s official instructions point out that setup steps and login addresses can change depending on the router, gateway, or mesh system. Operators should check the manual or device label for the correct admin address for their hardware. TP-Link notes, “Steps differ by router, gateway, and mesh system, so check your system's setup guide for the exact process.” TP-Link Beginner's Guide.
Key Features for Piso WiFi Operators
The admin panel at 10.0.0.1 gives operators control over their Piso WiFi business. From this dashboard, you can set bandwidth limits for each session, define session times, and create pricing options. Operators can also watch real-time data usage, see which devices are connected, and track revenue and transactions as they happen. Security settings like WPA2 or WPA3 encryption, firewall rules, and access controls are available in the same interface. The panel lets you reboot or reset the router remotely, so many problems can be fixed without being on-site.
TP-Link’s technical documentation makes clear that router administration depends on the hardware and network setup. Not every feature—such as pricing, revenue tracking, or payment processing—is built into every admin panel. Some business functions may need extra captive-portal or vending software beyond what the router provides.
Configuring Piso WiFi Settings
After logging in, operators can change several key settings. These include setting time limits for sessions, adjusting pricing and payment choices, and managing bandwidth. Security features can be turned on to protect the network, and user activity can be tracked to keep usage fair. Some admin panels also let you schedule automatic reboots and enable advertising features for extra income.
Troubleshooting Access Problems
If you can’t reach 10.0.0.1, check that your device is on the right network. Restarting the router can clear up temporary glitches. If the login page won’t load, try clearing your browser cache or using incognito mode. Always double-check the IP address on your router’s sticker. If you forget your login details, a router reset might be needed. Reducing the number of connected devices and updating firmware can help with performance and access issues. TP-Link advises checking the device’s manual and network settings if the usual login address fails, rather than assuming the router is faulty.
Resetting Your TP-Link Piso WiFi Router
You have a couple of ways to reset your router. A soft reboot restarts the device but keeps your settings. A factory reset wipes all custom settings and returns the router to its original state. For a hardware reset, press and hold the reset button on the router for about ten seconds.
Advanced Performance Settings
Operators aiming to boost network performance can turn on Quality of Service (QoS), set data limits for users, adjust the frequency band, and use external antennas to strengthen the signal. Checking for interference and updating firmware are also key steps for keeping the network stable.
Security and Compliance Considerations
TP-Link’s security advice for small businesses includes enabling multifactor authentication, using a password manager, confirming endpoint protection on each device, and backing up device configurations (TP-Link Security Tools). Still, not every TP-Link router supports all advanced security features through the admin panel at 10.0.0.1. Options like multifactor authentication, WPA3, or remote reset may depend on the firmware or need cloud-management or third-party software.
No Philippine government regulation, National Telecommunications Commission ruling, or Department of Information and Communications Technology policy specifically covers TP-Link Piso WiFi router login addresses or default credentials. Operators should check compliance separately against relevant telecommunications, consumer-protection, cybersecurity, and privacy rules.
Choosing the Right TP-Link Router for Piso WiFi
The router you pick shapes the performance and growth potential of your Piso WiFi setup. For standard use, the TP-Link TL-MR6400 offers 4G LTE with a SIM slot. Operators needing more capacity can look at Archer series dual-band routers. For portable setups, models like the TL-MR100 or TL-M7350 offer battery-powered LTE options. The TP-Link range covers needs from small shops to larger community networks. TP-Link’s published advice confirms that setup steps and available features can change with the router and gateway, so identifying the model and checking the setup guide is key for a successful rollout.